Installation
Right place for installation
Read the “Safety Instructions” first!
Contact the Authorized Service for the product's installation. To prepare the product for installation, see the information in the user manual and make sure the electric and water utilities are as required. If not, call an electrician and plumber to arrange the utilities as necessary.
- Damaged power cable must be replaced by Authorized Service.
- When placing two coolers in adjacent position, leave at least 4 cm distance between the two units.
- Keep the product out of direct sunlight and in a dry place.
- The distance between the product and the side walls should be 3 mm and the distance between the product and the rear wall should be 35 mm. (ElegantFit)
- If the door span is too narrow for the product to pass, remove the door and turn the product sideways; if this does not work, contact the authorized service.
- Place the product on a flat surface to avoid vibration
- Place the product at least 30 cm away from the heater, stove and similar sources of heat and at least 5 cm away from electric ovens.
- Do not expose the product to direct sunlight or keep in damp environments.
- Before transport or use, never open the control board cover on the product. Risk of electric shock and fire!
- Our firm will not assume responsibility for any damages due to usage without earthing and without power connection in compliance with national regulations.
- The power cable plug must be easily accessible after installation.
Hot surface warning!
The side walls of your product are equipped with cooler pipes to enhance the cooling system. High pressure fluid may flow through these surfaces, and cause hot surfaces on the side walls. This is normal and it does not require servicing. Be careful when you contact these areas.
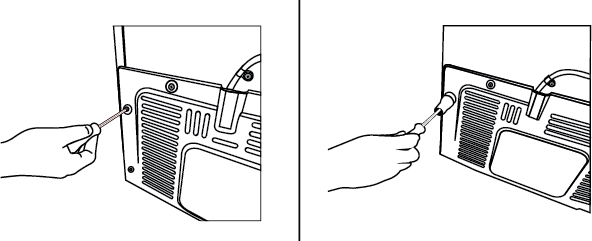
Attaching the plastic wedges
Use the plastic wedges provided with the product to maintain sufficient space for air circulation between the product and the wall.
- Remove the screws on the product and mount the screws provided with the wedges.
- Attach 2 plastic wedges on the ventilation cover as shown in the figure.
Adjusting the Legs
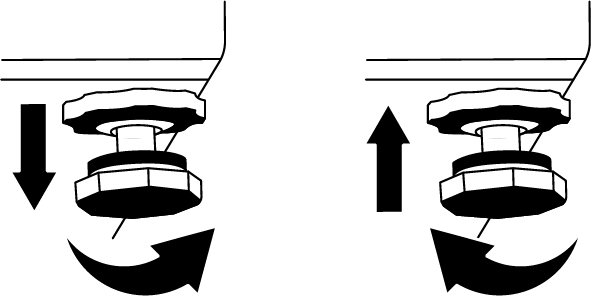
If the product is not in balanced position, adjust the front adjustable stands by rotating right or left.
For adjusting the doors vertically,
Loosen the fixing nut at the bottom. Screw adjusting nut (CW/CCW) according to the position of the door. Tighten the fixing nut bolt for the final position.
For adjusting the doors horizontally,
Loosen the fixing screw at the bottom Loosen the fixing nut at the top. Screw the adjusting bolt (CW/CCW) on the side according to the position of the door. Tighten the fixing nut on the top for the final position Tighten the fixing screw at the bottom
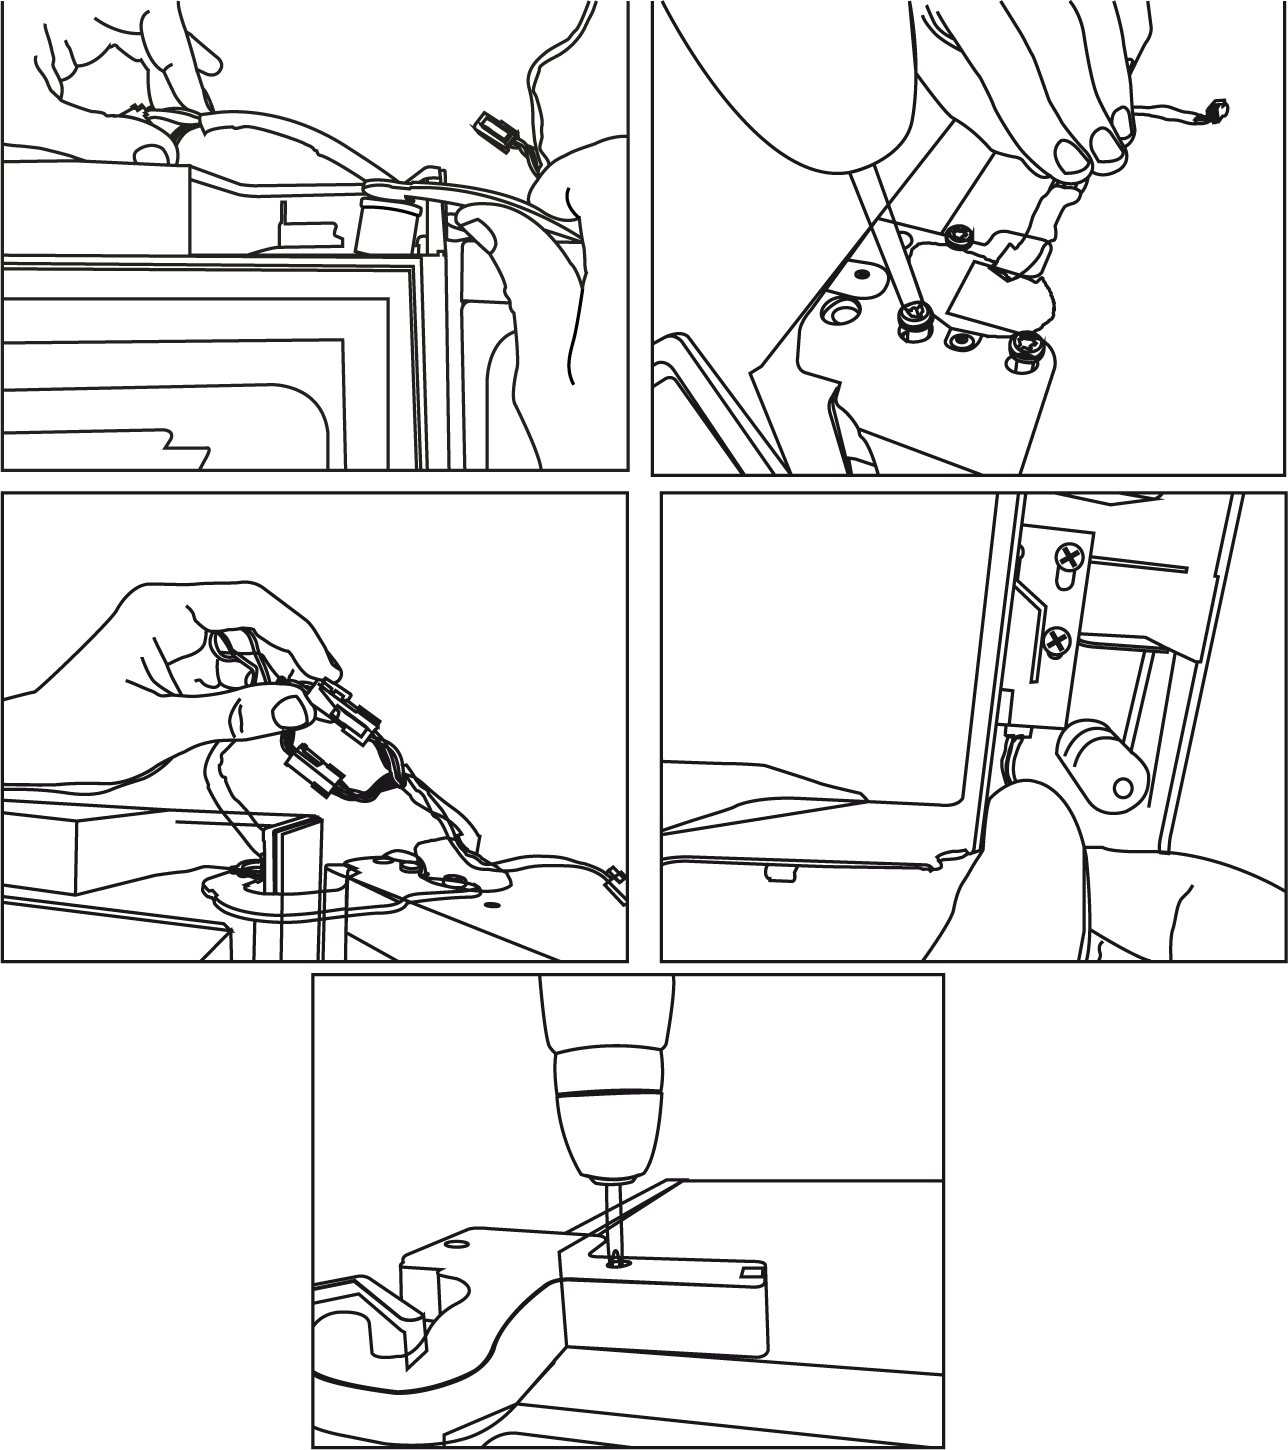
Fix the upper hinge assembly with 3 screws.
Install the hinge cover after the sockets are installed.
Secure the hinge cover with two screws.